Installation Steps
A. Module Installation Steps
Access the Server
Access the Server
Use the terminal (putty/ any ssh client) on your computer to connect to your Magento server (this is called SSH)
ssh username@your.server.ip
- Replace username with your actual username
- Replace **your.server.ip **with your server IP address or website domain name. e.g. (127.0.0.1 / mystore.com)
- Windows users please download putty, you can visit this link to download putty https://www.wikihow.com/Use-Putty-in-Windows
Go to the Magento folder
Go to the Magento folder
Once you’re connected, go to the main folder where all your store’s files are kept.Usually, it’s /var/www/html
cd /path/to/magento/root
Add the module
Add the module
Run this command to install the integration.
composer require surebright/integration
Update and Prepare Magento
Update and Prepare Magento
bin/magento setup:upgrade bin/magento setup:di:compile
Setup your store visuals
Setup your store visuals
Deploy static files (like images and styles) by running
bin/magento setup:static-content:deploy -f -j5
Clear the cache
Clear the cache
Refresh Magento so everything works properly by running:
bin/magento cache:clean
B. Activation Steps
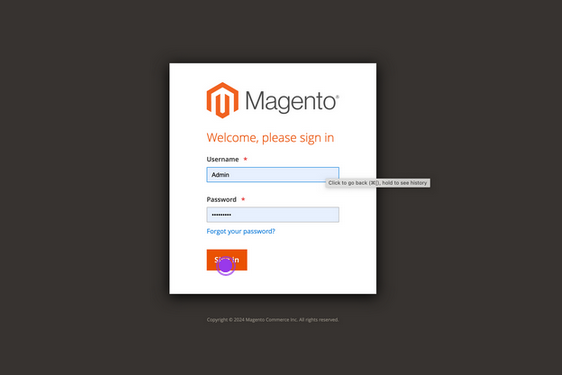
Login to your Magento Admin Panel
Login to your Magento Admin Panel
Navigate to Integrations
Navigate to Integrations
Click on the Integrations option within the Extensions heading of your System menu item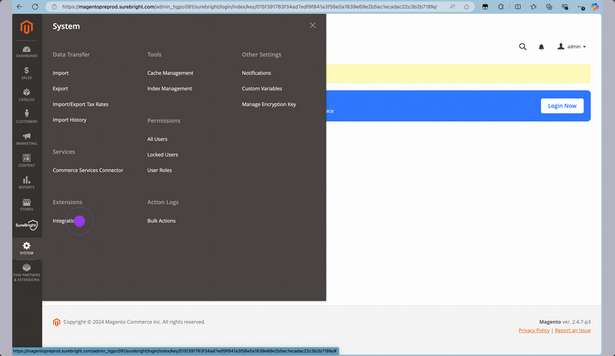
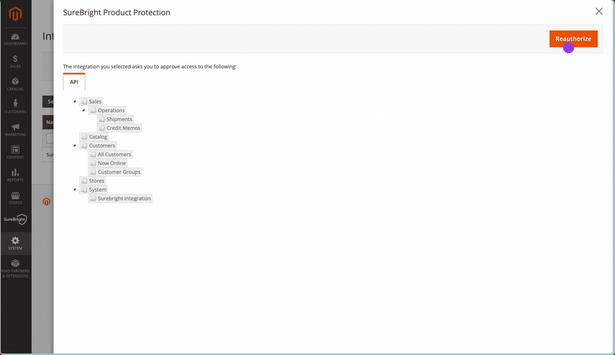
Authorize SureBright
Authorize SureBright
Look for SureBright Product Protection line item and click on Activate / Reauthorize option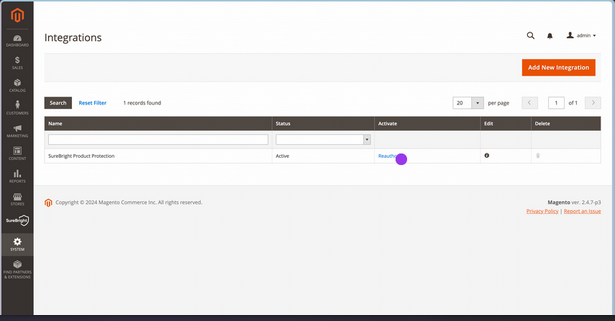
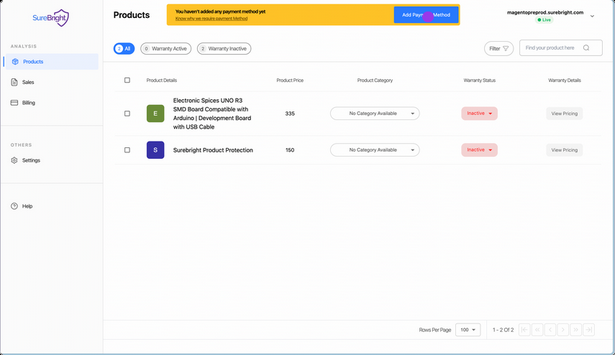
C. Login to SureBright
You can now login to SureBright Merchant portal using the credentials shared. This would give you complete visibility into the warranty program. If you have not received the credentials, please reach out to your Account Manager.
Add Payment Method
Add Payment Method
Click on Add Payment Method to provide payment details. This allows SureBright to charge for the cost of the warranty plans sold to customers, through your store. We charge at a weekly/monthly frequence as per your preference.